When You Want To Fix Another Window Tint?
That feeling when you roll down your car windows on a hot summer day expecting a cooling rush of fresh air, only to realize the sun is beating down directly on you because your window tint is bubbling, peeling and barely doing its job. It’s time to fix it. Window tint serves the important functions of reducing glare, blocking UV rays, and keeping vehicle interiors cooler, but it doesn’t last forever.
Over time, window tint can bubble, peel, and turn purple. If your window tint is more than 5 years old, it’s probably due for a replacement. New advances in window tint, like ceramic technology, also make it worthwhile to upgrade older tint. Well-installed window tint can last 5-15 years, but factors like heat and sun exposure affect longevity.
Replacing window tint completely is advisable when it has degraded. Partial fixes like spot repairs are only temporary and won’t match seamlessly or perform as well. The good news is that replacing window tint film is an affordable way to restore UV protection, clarity and aesthetics.
When You Want To Fix Another Window Tint?
Having to fix a window tint can be frustrating. There may come a time when you need to repair or replace a window tint in your vehicle. This comprehensive guide covers when and why you may need to fix another window tint, how to identify issues, removal techniques, and best practices for reapplying tint.
Common Reasons For Window Tint Repairs
There are several common reasons why you may need to fix or replace a window tint:
Peeling and Bubbling
Over time, especially with exposure to heat and sunlight, window tint can start to peel away at the edges or bubble up. This destroys the smooth look of the tint. Fixing peeling and bubbling requires removing the damaged sections and replacing them.
Discoloration and Fading
Window tint contains dyes that protect against UV rays. But after years of UV exposure, those dyes can start to break down, causing the tint to look purple, brown, or faded. The only remedy is a full replacement.
Scratches and Nicks
Accidental scratches, nicks, and debris trapped under the tint require partial or full window tint replacement depending on severity.
Improper Installation
Bubbles, creases, gaps, and other mistakes during the original install will need to be fixed for proper performance and aesthetics.
Identifying Window Tint Issues
Inspect all windows thoroughly to identify any problem areas:
- Look for peeling edges or corners
- Check for bubbles of any size
- Inspect for discoloration and fading
- Note any scratches, debris, or trapped contaminants
- Check for creases, wrinkles, gaps, or uneven sections
Also inspect the window tint from both inside and outside the vehicle in direct sunlight to see all defects clearly.
Removing the Old Window Tint
Removing old window tint properly is crucial for good results when reapplying. Follow these steps:
Gather the Proper Tools
When considering car window tinting options, many people often wonder, Should I tint my car windows? Before diving into the process, gather essential tools.
You’ll need a plastic applicator or razor, spray bottle of soapy water, lint-free cloths, and a heat gun or hair dryer. Avoid metal razors to prevent scratching.
Soak the Tint Thoroughly
Spray the tint generously with soapy water. This allows the tint to slide off the glass more easily.
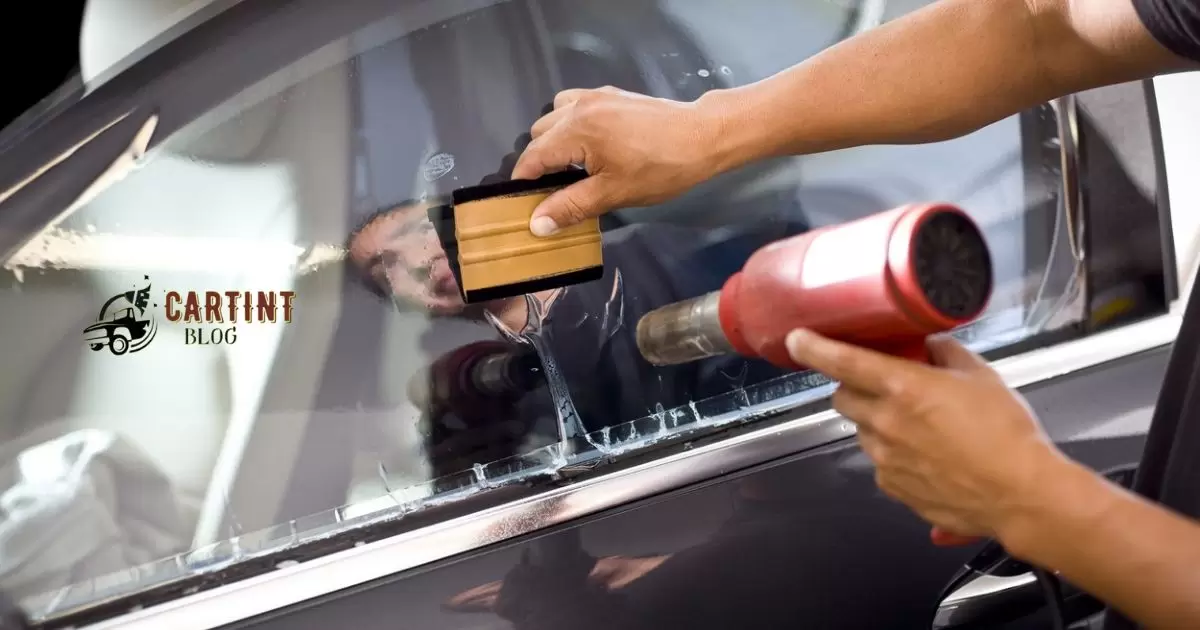
Heat the Tint
Use a heat gun or hair dryer to warm the tint. Heating it makes the tint more pliable so it peels off cleanly. Be careful not to overheat the glass.
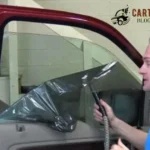
Slowly Peel Off the Tint
Starting at a corner, carefully peel back the tint. Remove it in strips rather than all at once. Take your time.
Clean Off Adhesive Residue
Use soapy water and lint-free cloths to remove any leftover adhesive. Windex also works well. Thorough cleaning prevents new tint from lifting or peeling.
Preparing the Window for New Tint
After old tint removal, prepare the window for the new application:
- Wash with soapy water and dry completely with a lint-free cloth
- Wipe down with 50/50 white vinegar and water solution
- Finish with a final wipe of rubbing alcohol
- Do not touch the interior window surface afterward
This cleaning process ensures zero dirt, oils, or debris interfere with the tint adhesive.
Best Practices for Reapplying Window Tint
Follow these vital steps when installing the new window tint for optimal results:
Choose High-Quality Tint
Invest in a reputable brand of tint like 3M. Quality tint uses advanced adhesives for long-lasting bonds.
Cut the Tint Slightly Larger
Cut the new tint 1 inch larger on all sides. This prevents any gaps between the window frame and tint edge.
Mist the Window Lightly
Lightly mist the window with water before applying the new tint. This allows you to reposition the tint easily.
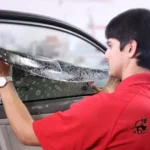
Apply Tint Smoothly
Carefully apply while smoothing out any bubbles or wrinkles immediately with a plastic applicator. Work from the center outward.
Trim Excess Tint
Use a new razor blade to trim excess tint at the edges for an exact fit.
Heat and Re-Smooth
Finish by heating the tint lightly with a heat gun while smoothing the entire tint once more.
Let the window sit in direct sunlight for 48 hours for the tint to fully cure before rolling up windows.
When to Call a Professional
While DIY window tint repair is possible in many cases, certain situations call for a professional tint shop.
- Factory-tinted windows
- Severely damaged tint needing full replacement
- Rear windshield or front windshield (illegal in some states)
- Multiple windows or whole-vehicle tint replacement
- If attempted DIY repairs fail
The investment protects you from botched results, legal issues, and wasted money or time.
The Takeaway
Fixing a window tint properly requires careful inspection, removal, preparation, and reapplication. Rushing any part of the process leads to a disappointing outcome. Investing in quality tools and new film while taking your time leads to an expert repair that restores the look and function of your window tint.
Window Tint Repair Kit
| Topic | Sentences |
| What is it | A window tint repair kit has tools to fix peeling or bubbling tint. |
| Contents | It has razors, spray bottles, heat gun, cloths, cleaner, and new tint film. |
| When to use | Use when old tint peels or bubbles. New tint makes it look good. |
| How to fix | First take old tint off. Clean window fully. Then put new tint on neatly. |
Frequently Asked Question
Why Does Window Tint Need Fixing?
Window tint can peel, bubble, fade, discolor, or get scratched over time with heat and UV exposure.
What Tools Fix Window Tint?
Razors, spray bottles, heat guns, lint-free cloths, cleaners, and new tint film are needed to fix window tint.
How To Remove Old Window Tint?
Soak the tint to soften adhesive, heat it, then slowly peel it off in strips using a plastic applicator.
What’s The Best Way To Apply New Tint?
Clean the window fully, cut tint slightly larger, mist window, apply smoothly from center outwards.
When Should A Pro Be Hired?
For factory-tinted, severely damaged, illegal, whole vehicle or failed DIY tint jobs.
Conclusion
Fixing window tint is hard. It takes skill and patience. First, remove the old peeling tint. Use water and heat to loosen it. Slowly peel it off. Make sure the window is very clean after. Then put new tint on smoothly. Carefully trim the edges. Fixing tint takes time. Rushing causes mistakes. Hire a pro if you lack skill.
Window tint protects cars from sun. But it can peel or bubble over years. DIY kits can fix small issues. Or pay a pro for full redo. Test if warranty covers fixes first. Fixes restore the good looks of tint. It also keeps working to block light and heat.