Removing tint from car windows involves carefully peeling off the tint film. Start by gathering necessary tools like a razor blade and a heat source. Follow a step-by-step process to avoid damage and ensure safety. Consider professional help for stubborn tints or if you’re unsure.
Ever wondered, How do I take tint off car windows? Unlocking this mystery can save you from the hassle of peeling, scraping, and struggling. Discover the secrets to a smooth tint removal process, armed with the right tools and techniques. Say goodbye to stubborn tints as we guide you through the steps to clarity and a pristine window finish.
Stay with us as we explore the simple yet effective methods to answer the question. I take the tint off the car windows. Learn the steps, tools, and tips to successfully remove tint, ensuring a clear and polished finish for your car windows. Don’t miss out on the insights that will make the tint removal process a breeze.
Gather Necessary Tint Removal Supplies
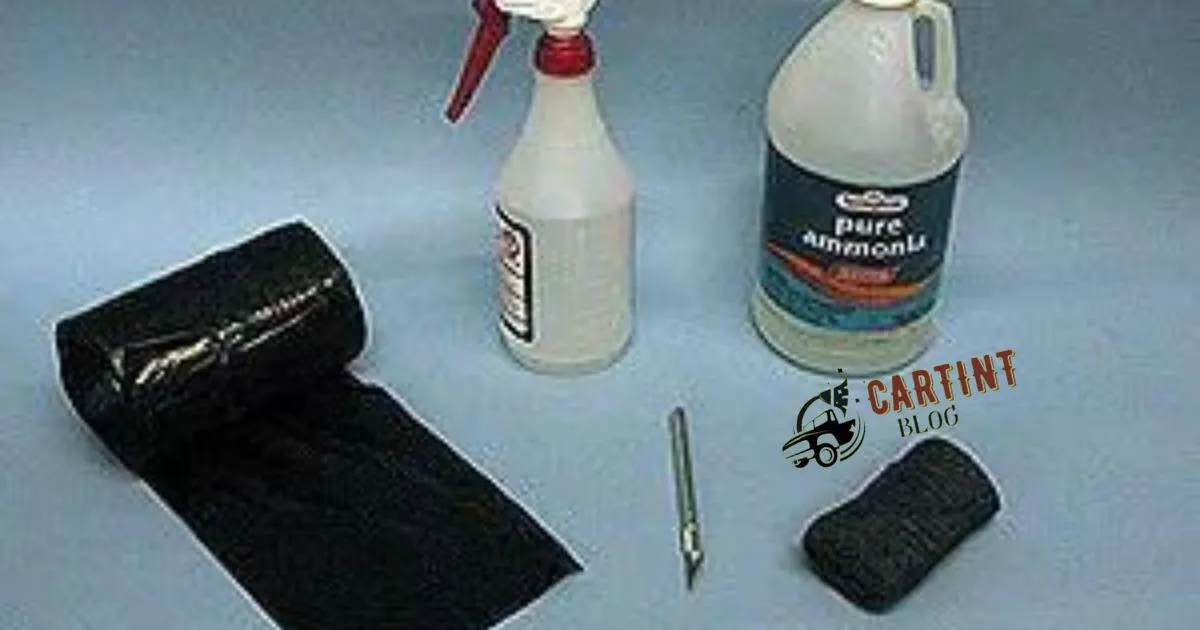
Get ready for a hassle-free tint removal by gathering the essential supplies. Equip yourself with a razor blade, heat gun or hair dryer, soapy water, and a clean cloth. These tools will be your allies in the mission to achieve clear, residue-free car windows.
Ensure a smooth process by having all supplies within reach before you begin. The razor blade aids in peeling off the tint, while the heat gun softens the adhesive. Soapy water helps in minimizing friction during the removal, and a clean cloth ensures a final wipe-down for a spotless finish.
Safety Precautions For Tint Removal
When tackling tint removal, prioritize safety with these precautions. Begin by wearing protective gear such as gloves and safety glasses to shield yourself from potential hazards. Ensure proper ventilation in the workspace, particularly if using heat methods, to avoid inhaling fumes.
By adhering to these safety measures, you can confidently proceed with tint removal, minimizing risks and ensuring a secure environment.Be cautious with sharp tools like razor blades and ensure they are handled responsibly.
Keep the work area well-lit to enhance visibility and reduce the likelihood of accidents. Taking these safety precautions will not only protect you during the tint removal process but also contribute to a smooth and accident-free experience.
Choose The Right Tint Removal Method
Selecting the appropriate tint removal method is crucial for a successful outcome. Begin by assessing the tint on your car windows and its adhesive strength. If the tint peels easily, a straightforward approach like using a razor blade or heat may suffice.
For stubborn tints on My Car Window Tint, a blend of techniques, including heat application and careful scraping, ensures effective removal. Consider your window’s nature flat or curved when choosing the best method.
Keep in mind that selecting the right tint removal method tailored to your specific situation will streamline the process and minimize the effort required. Making an informed decision from the outset sets the stage for a smooth and successful tint removal experience.
Step-By-Step Guide To Tint Removal
Unlock the secrets of tint removal with our straightforward step-by-step guide. Begin by gathering essential tools such as a razor blade and a reliable heat source. Peel off the tint carefully, following each step diligently, and enjoy clear, spotless windows.
This user-friendly guide ensures a hassle-free process, empowering you to achieve professional results without the need for specialized expertise.Protect your car’s aesthetic by following our step-by-step guide to tint removal.
With easily accessible tools and a systematic approach, you can say goodbye to unwanted window tint. Embrace the simplicity of our instructions, guiding you through a process that leaves your car windows pristine, free from residue, and ready to showcase your ride in its full clarity.
Peeling Tint: A Simple Approach
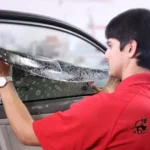
Looking to remove tint effortlessly? Embrace the simplicity of peeling tint, a straightforward approach that requires minimal tools. Begin by gently lifting a corner of the tint film using a razor blade, then carefully peel it away in a smooth, controlled motion.
This hands-on method ensures a quick and hassle-free tint removal process, making it an ideal choice for those seeking simplicity and efficiency.For a successful peeling process, make sure to work in small sections, gradually pulling the tint away while keeping the surface lubricated with soapy water.
This not only eases the peeling but also helps in preventing adhesive residue. Embracing this uncomplicated technique transforms tint removal into a manageable task, allowing you to enjoy clear, unobstructed windows with ease.
Using Heat To Remove Tint
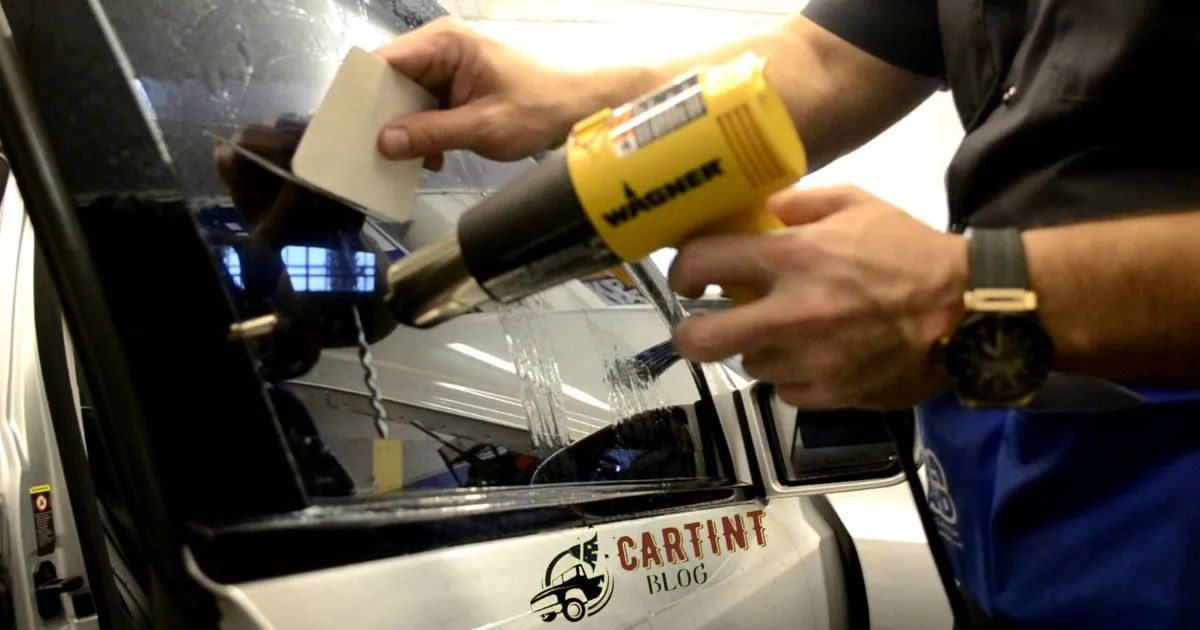
Heat is a key player when it comes to removing tint from car windows. Begin by directing a heat source, like a hairdryer or a heat gun, towards the tinted area. As the adhesive warms up, gently peel off the tint using a razor blade or your fingers.
This method is effective and straightforward, ensuring a smooth tint removal process without the need for excessive force.When using heat to remove tint, remember to keep the heat source at a safe distance to prevent damage to the window or surrounding components.
Applying even heat across the tinted surface softens the adhesive, making it easier to lift and remove. With this simple yet powerful technique, you’ll achieve a clean and residue-free result, restoring your car windows to their original clarity.
The Razor Blade Tint Removal
Looking to remove tint with precision? The razor blade tint removal method is your go-to solution. Begin by carefully scoring the tint film using a sharp razor blade, making sure to maintain a steady hand. Once scored, gently peel off the tint, ensuring a clean removal without leaving residue.
This straightforward technique gives you control over the process, leaving your car windows spotless.For a hassle-free experience, gather a razor blade, soapy water, and a clean cloth. Wet the window with the soapy water, then use the razor blade to score and lift the tint.
Wipe away any leftover adhesive with the cloth, and voilà your windows are clear and tint-free. This DIY approach offers a cost-effective solution without the need for professional help.
Diy Tint Removal: Pros And Cons
Pros:
- Cost-Effective: DIY tint removal is often more budget-friendly than hiring professionals.
- Convenience: You can perform the removal at your own pace and schedule.
- Learning Experience: Gain hands-on knowledge about tint removal methods.
- Immediate Availability: No need to wait for an appointment; you can start right away.
Cons:
- Risk of Damage: DIY attempts may lead to scratches or damage to the window.
- Time-Consuming: Tint removal can be a time-intensive process for beginners.
- Skill Requirement: Successful removal may require a certain level of skill and patience.
- Limited Resources: DIY methods may lack access to professional-grade tools and expertise.
Preparing The Car For Tint Removal
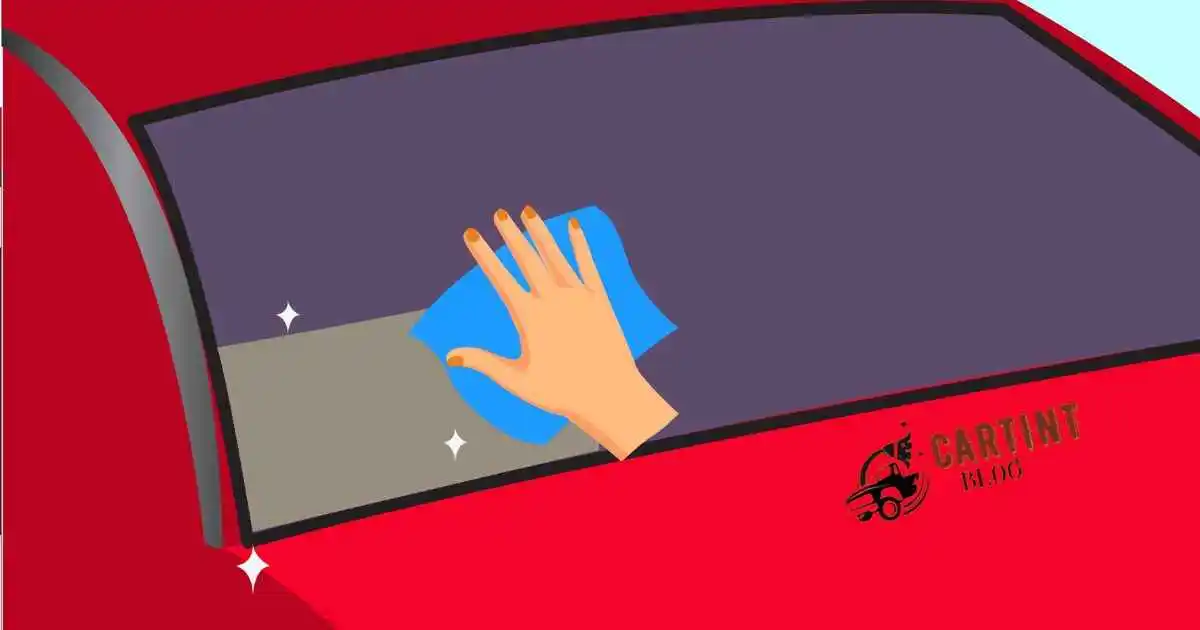
Get ready to take on tint removal with a well-prepared car. Start by cleaning the windows thoroughly, removing any dirt or debris. Use a mild soapy solution and a lint-free cloth to ensure a smooth surface, allowing for easier tint removal. Next, make sure the interior is protected from potential damage during the process.
Cover sensitive areas like electronics and upholstery with plastic sheets or towels to prevent any mishaps. This proactive preparation sets the stage for a successful and hassle-free tint removal experience.Before diving into tint removal, inspect the windows for any existing damage or chips.
Addressing these issues beforehand ensures a safer removal process and minimizes the risk of exacerbating any pre-existing problems.Check the weather forecast and choose a dry day for the task to prevent complications. By taking these steps to prepare your car, you’ll set yourself up for a more efficient and trouble-free tint removal, leaving your windows pristine and clear.
Common Mistakes To Avoid
When removing tint from car windows, it’s crucial to steer clear of common mistakes. Firstly, using excessive force can lead to scratches on the glass, making the removal process counterproductive. Secondly, neglecting proper safety precautions, such as wearing protective gear, might result in injuries.
To ensure a smooth tint removal experience, avoid these pitfalls and follow a step-by-step guide for optimal results.Another common mistake is rushing the process. Taking the time to adequately heat the tint and adhesive allows for easier peeling without leaving residue.
Overlooking the importance of thorough cleaning after removal can leave unsightly marks on the windows. By being mindful of these pitfalls and taking a patient approach, you can achieve a successful tint removal without encountering unnecessary setbacks.
Dealing With Stubborn Tint Residue
When faced with stubborn tint residue, take proactive steps for swift removal. Begin by applying heat to the affected area using a hairdryer or heat gun. Gently peel off the residue using a razor blade, employing steady and controlled movements.
Finish the process by cleaning the window with a vinegar solution to dissolve any remaining adhesive.For a more specialized approach, consider using a commercial tint adhesive remover.
Apply the remover as directed on the product, allowing it to penetrate the residue. Once the adhesive softens, use a clean cloth or sponge to wipe away the stubborn remnants. With these proactive methods, you can effectively tackle and conquer any lingering tint residue on your car windows.
Window Tint Removal Solutions Overview
Discover various solutions for removing window tint effortlessly. Begin with a simple peeling method, gently lifting the tint from the glass surface. Use a razor blade to scrape off the tint, ensuring a clean and smooth finish.
Explore these practical options to find the best fit for your window tint removal needs.When faced with stubborn residue, consider employing heat to soften the adhesive, making the tint easier to peel or scrape away.
Professional services are available, but with the right tools and our step-by-step guide, you can confidently tackle window tint removal on your own. Say goodbye to unwanted tint and welcome clear, pristine windows with these effective solutions.
Assessing Tint Adhesive Strength
When assessing tint adhesive strength, first, gently try to peel off a corner of the tint film. If it lifts easily, the adhesive may be weak. On the other hand, if the tint resists peeling, the adhesive is likely strong. Testing different sections will help determine the overall adhesive strength.
Consider using a razor blade or heat source to aid in removal. Applying heat softens the adhesive, making it easier to peel off the tint. A careful assessment of the adhesive’s strength guides the choice of removal method, ensuring a smoother and more efficient process.
Professional Tint Removal Services Vs. Diy
| Aspect | Professional Tint Removal Services | DIY Tint Removal |
| Expertise | Professionals have specialized knowledge and experience in tint removal techniques. | DIY requires basic understanding; may lack expertise for complex scenarios. |
| Tools and Equipment | Professionals use advanced tools and equipment for efficient and effective removal. | DIY relies on readily available tools, potentially limiting precision and speed. |
| Time Investment | Professional services typically offer quicker tint removal, saving time for the car owner. | DIY may take longer, especially for first-timers, increasing the time commitment. |
| Risk of Damage | Professionals minimize the risk of damage to windows and interiors during the removal process. | DIY involves a risk of damage if not done carefully; mistakes can be costly. |
| Residue Cleanup | Professionals are equipped to handle residue cleanup thoroughly. | DIY may require extra effort for thorough residue cleanup, impacting the final result. |
| Cost | Professional services usually come at a higher cost due to expertise and specialized tools. | DIY is cost-effective but may have hidden costs if mistakes occur or additional tools are needed. |
| Convenience | Professional services offer convenience, requiring minimal effort from the car owner. | DIY requires time and effort, making it less convenient, especially for busy individuals. |
| Guarantee/Warranty | Professionals often provide guarantees or warranties for their services. | DIY outcomes lack guarantees, and any issues become the responsibility of the car owner. |
Tint Removal On Curved Windows
Removing tint on curved windows is a task that demands precision. The curvature adds complexity, making it crucial to approach the removal with care. Begin by heating the tint to make it more pliable, allowing for easier peeling.
Utilize a razor blade method, ensuring a smooth process on the curved surfaces, and don’t forget to clean and polish afterward for a flawless finish. Tackling tint removal on curved windows may seem challenging, but with the right technique, it becomes manageable.
Prioritize safety, wear protective gear, and use a steady hand for the razor blade method. Take it step by step, addressing each section of the curved window individually. By following these guidelines, you’ll navigate the curvature with ease, achieving a successful tint removal on your car’s curved windows.
Troubleshooting Tint Removal Challenges
Encountering challenges while removing window tint? Start by assessing the tint adhesive’s strength. If facing stubborn residue, a razor blade method can help, ensuring a smoother removal process. Consider using heat to soften the adhesive for easier peeling.
Stay proactive and troubleshoot these common issues to achieve a successful tint removal without unnecessary frustration.Protecting your car’s interior during tint removal is crucial. Cover electronic components, upholstery, and other sensitive areas to prevent damage from chemicals or scratches.
When troubleshooting, be patient and methodical, applying gradual heat and careful scraping. Following these steps ensures a hassle-free tint removal, leaving your car’s windows clean and clear.
Protecting Interior During Tint Removal
When taking tint off car windows, safeguarding the interior is crucial. Begin by covering the dashboard, seats, and other vulnerable areas with plastic sheeting or drop cloths. This prevents any potential damage from cleaning solutions or adhesive residue, ensuring your car’s interior stays in pristine condition throughout the tint removal process.
Using painter’s tape to secure the protective coverings in place helps avoid any unwanted shifting during the removal. By taking these simple yet effective precautions, you not only streamline the tint removal process but also safeguard the interior components of your vehicle, leaving it in the same condition you found it.
FAQ’s
What is the easiest way to remove window tint from a car?
Use a steamer or a heat gun to loosen the adhesive, making it easy to peel off the tint film without residue.
Does vinegar remove tint?
Yes, a mixture of vinegar and water can help soften the adhesive, making it easier to remove window tint.
How do you remove tint adhesive from a car?
Apply soapy water or ammonia-based cleaner to soften the adhesive, then scrape it off using a razor blade.
How do you remove sun film from car windows?
Peel off the sun film carefully and use a soapy water solution to remove any adhesive residue left behind.
Conclusion
In conclusion, tackling the question How Do I Take Tint Off Car Windows is a manageable task with the right knowledge and tools. Whether opting for a DIY approach or seeking professional assistance, the key is to follow a systematic process.
From selecting the appropriate removal method to safeguarding your car’s interior, each step contributes to a successful tint removal experience. Patience and precision are crucial, ensuring that your windows end up clear and residue-free, ready to embrace a fresh, unobstructed view of the road.